安装材料
raspberry pi 4b 4G *1
128G 三星TF卡 *1
micro接口转HDMI转接线 *1
电源适配器 5V 3A *1
安装系统
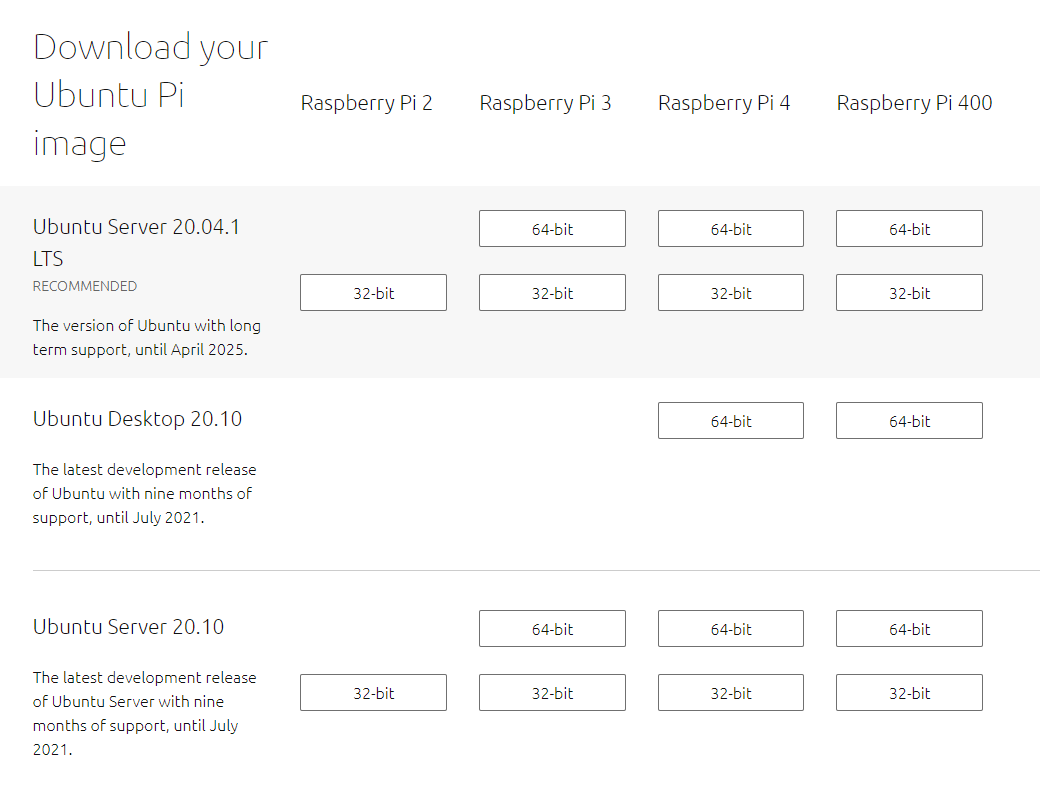
1、下载
在windows上下载 raspberry pi imager 用来安装系统
由于我们已经在  已经下载好了 OS,所以我们直接烧录系统。
2、进入系统
输入账号密码,默认ubuntu:ubuntu,需要重新设置密码。
此时需要连接网线、显示器、键盘。
更新软件源,由于树莓派,使用ubuntu-ports,然后更新
1
2
3
|
# cp /etc/apt/sources.list /etc/apt/sources.list.bak
# 然后替换软件源
# apt update
|
安装软件
1
|
# apt install net-tools wireless-tools wpasupplicant udhcpc
|
查看网卡
1
2
3
4
5
6
|
# iwconfig
lo        no wireless extensions.

eth0      no wireless extensions.

wlan0     no wireless extensions.
|
启动网卡
1
2
|
# ifconfig wlan0 up
# ifconfig
|
此时就能看到网卡信息了。
配置wifi信息
1
2
3
4
5
|
# vi wpa_supplicant.conf
country=GB
ctrl_interface=DIR=/var/run/wpa_supplicant GROUP=netdev
update_config=1
# wpa_passphrase wifi名称 wifi密码 >> wpa_supplicant.conf
|
此时再启动wpa_cli后台wpa_supplicant
 1
 2
 3
 4
 5
 6
 7
 8
 9
10
11
12
13
14
15
16
17
18
19
20
21
22
23
24
25
26
27
|
# wpa_supplicant -iwlan0 -c wpa_supplicant.conf -B
查看wifi连接状态
# wpa_cli -iwlan0 status
扫描可用wifi
# wpa_cli -i wlan0 scan
查看扫描结果
# wpa_cli -i wlan0 scan_results
新增wifi编码
# wpa_cli -iwlan0 add_network
配置wifi名称
# wpa_cli -iwlan0 set network 编码 ssid "wifi名称"
配置wifi密码
# wpa_cli -iwlan0 set network 编码 psk "wifi密码"
查看wifi列表
# wpa_cli -iwlan0 list_network
选择wifi
# wpa_cli -iwlan0 select_network
使用wifi
# wpa_cli -iwlan0 enable_network
断开wifi
# wpa_cli -iwlan0 disconnect
重连wifi
# wpa_cli -iwlan0 reconnect
停止使用wifi
# wpa_cli -iwlan0 disable_network 编码
保存wifi
# wpa_cli -iwlan0 save_config
|
此时wifi已经连接成功,但是还没有分配ip地址
此时成功连接wifi。
添加DNS
1
2
3
|
# vi /etc/resolv.conf

nameserver 114.114.114.114
|
下载安装docker
docker官网
1、卸载旧版本
1
|
# apt-get remove docker docker-engine docker.io containerd runc
|
2、添加repository
 1
 2
 3
 4
 5
 6
 7
 8
 9
10
11
12
13
|
# apt-get update
# apt-get install \
    apt-transport-https \
    ca-certificates \
    curl \
    gnupg-agent \
    software-properties-common
# curl -fsSL https://download.docker.com/linux/ubuntu/gpg | sudo apt-key add -
# apt-key fingerprint 0EBFCD88
# add-apt-repository \
   "deb [arch=armhf] https://download.docker.com/linux/ubuntu \
   $(lsb_release -cs) \
   stable"
|
3、安装docker
1
2
|
# apt-get update
# apt-get install docker-ce docker-ce-cli containerd.io
|
第三步一直提示 Unable to locate package docker-ce-cli
那就只能使用脚本的方式安装
 1
 2
 3
 4
 5
 6
 7
 8
 9
10
11
12
13
14
15
16
17
18
19
20
21
|
# curl -sSL https://get.docker.com | sh
# docker version
Client:
 Version:	18.01.0-ce
 API version:	1.35
 Go version:	go1.9.2
 Git commit:	03596f5
 Built:	Wed Jan 10 20:05:35 2018
 OS/Arch:	linux/arm64
 Experimental:	false
 Orchestrator:	swarm

Server:
 Engine:
  Version:	18.01.0-ce
  API version:	1.35 (minimum version 1.12)
  Go version:	go1.9.2
  Git commit:	03596f5
  Built:	Wed Jan 10 20:03:37 2018
  OS/Arch:	linux/arm64
  Experimental:	false
|
执行hello-world
 1
 2
 3
 4
 5
 6
 7
 8
 9
10
11
12
13
14
15
16
17
18
19
20
21
22
23
24
25
26
27
|
# docker run hello-world
Unable to find image 'hello-world:latest' locally
latest: Pulling from library/hello-world
256ab8fe8778: Already exists
Digest: sha256:e7c70bb24b462baa86c102610182e3efcb12a04854e8c582838d92970a09f323
Status: Downloaded newer image for hello-world:latest

Hello from Docker!
This message shows that your installation appears to be working correctly.

To generate this message, Docker took the following steps:
 1. The Docker client contacted the Docker daemon.
 2. The Docker daemon pulled the "hello-world" image from the Docker Hub.
    (arm64v8)
 3. The Docker daemon created a new container from that image which runs the
    executable that produces the output you are currently reading.
 4. The Docker daemon streamed that output to the Docker client, which sent it
    to your terminal.

To try something more ambitious, you can run an Ubuntu container with:
 $ docker run -it ubuntu bash

Share images, automate workflows, and more with a free Docker ID:
 https://hub.docker.com/

For more examples and ideas, visit:
 https://docs.docker.com/get-started/
|
添加镜像源
1
2
3
4
5
6
|
# cat /etc/docker/daemon.json
{
  "registry-mirrors": ["https://c2Zra3lhZDYK.mirror.aliyuncs.com"]
}
# systemctl daemon-reload
# systemctl restart docker
|
 已经下载好了 OS,所以我们直接烧录系统。